SimpliDock Installation Overview

The SimpliDock is one of the most versatile and installer friendly iPad mount/dock on the market. It's thin design allows for surface mounting or in-wall flush mounting (even over studs if necessary). It's the perfect iPad docking station for smart home applications, where easy docking/charging and fast eject/removal of iPad is ideal. However, SimpliDock can also be installed so the iPad® is non-removable for public spaces, kiosks, commercial spaces, etc. (see "Fixed iPad® Option" below).
Because of it's passthrough Lightning® or USB-C connector faceplate, it's compatible with a wide range of charging solutions.
Check out this animated video for installation steps involved with a typical in-wall installation.
Flush In-Wall Installation

Our most popular installation method, in-wall installation provides a flush-mounted aesthetic which works for most projects.
1. Determine location. Typical touchscreen height is 56”-60” to the bottom of the screen. Wall material should be smooth and flat (drywall, wood or paneling). Minimum mounting depth is 1/2”.
2. Use a level to draw a horizontal line approximately 6” long at the desired height, then use the supplied SimpliDock Mounting Template to trace the cutout onto the wall using the level line as a guide.
3. Using the appropriate cutting tool, follow the line to cut out the hole. Gently test fit the SimpliDock Frame to ensure a gap-free fit. It may be necessary to remove excess material around the cutout to ensure Frame rests flat against wall surface.
4. Remove Faceplate using provided Suction Grip placed on the blank space to the right of the logo. Pull gently outward until it un-clicks and set Faceplate aside for later.
5. Determine Clamp layout: If the wall is hollow behind the cutout, use the (4) provided Clamps in each corner opening of the Frame. Insert each Clamp into the back of the dock opening, then slide firmly into place until a “click” is felt. The Clamp should be secure to ensure proper tightening and prevent loss inside wall. If wall framing interferes with the mounting notches in the SimpliDock, you may use drywall screws to mount instead of the Clamps. If there are obstacles inside the wall, use alternate mounting holes as needed to provide the best possible installation.
6. Feed Female USB cable or long-distance charger through opening in left side of Frame.
7. Insert Frame into the wall opening and slowly,gently tighten screws until clamps pulls the bezel snug against the wall. DO NOT OVER TIGHTEN! It is possible to break the clamps or SimpliDock Frame if over tightened. If using stud(s) to mount, screw these in now.
8. Plug in Lightning® cable or USB-C to USB-A cable (Sold Separately), then insert Faceplate into SimpliDock’s left opening while guiding the excess cable into the wall cavity. Carefully align Faceplate and press until it clicks into place. When installed correctly, the insert will lay flat against the backside of the Frame and there will be very little movement.
9. To dock iPad®, align charging side toward the Lightning®/USB-C connector inside SimpliDock. Keep the angle close to the wall to allow proper charging connector alignment. Gently push until connector is fully inserted, then push the other end of the iPad flush into the SimpliDock.
10. To remove the iPad® press firmly and evenly on the charger side of the iPad screen. The iPad will press inward and allow the opposite end to spring outward enough to grasp. Keep the angle close to the wall, pull horizontally to the right away from the charger and remove the iPad®. DO NOT PULL OUTWARD or damage could occur to the faceplate Lightning®/USB-C or iPad® charging port.
11. If the SimpliDock ever needs to be removed, follow step 4 to remove inner faceplate and follow directions in reverse.
Surface Mount Installation
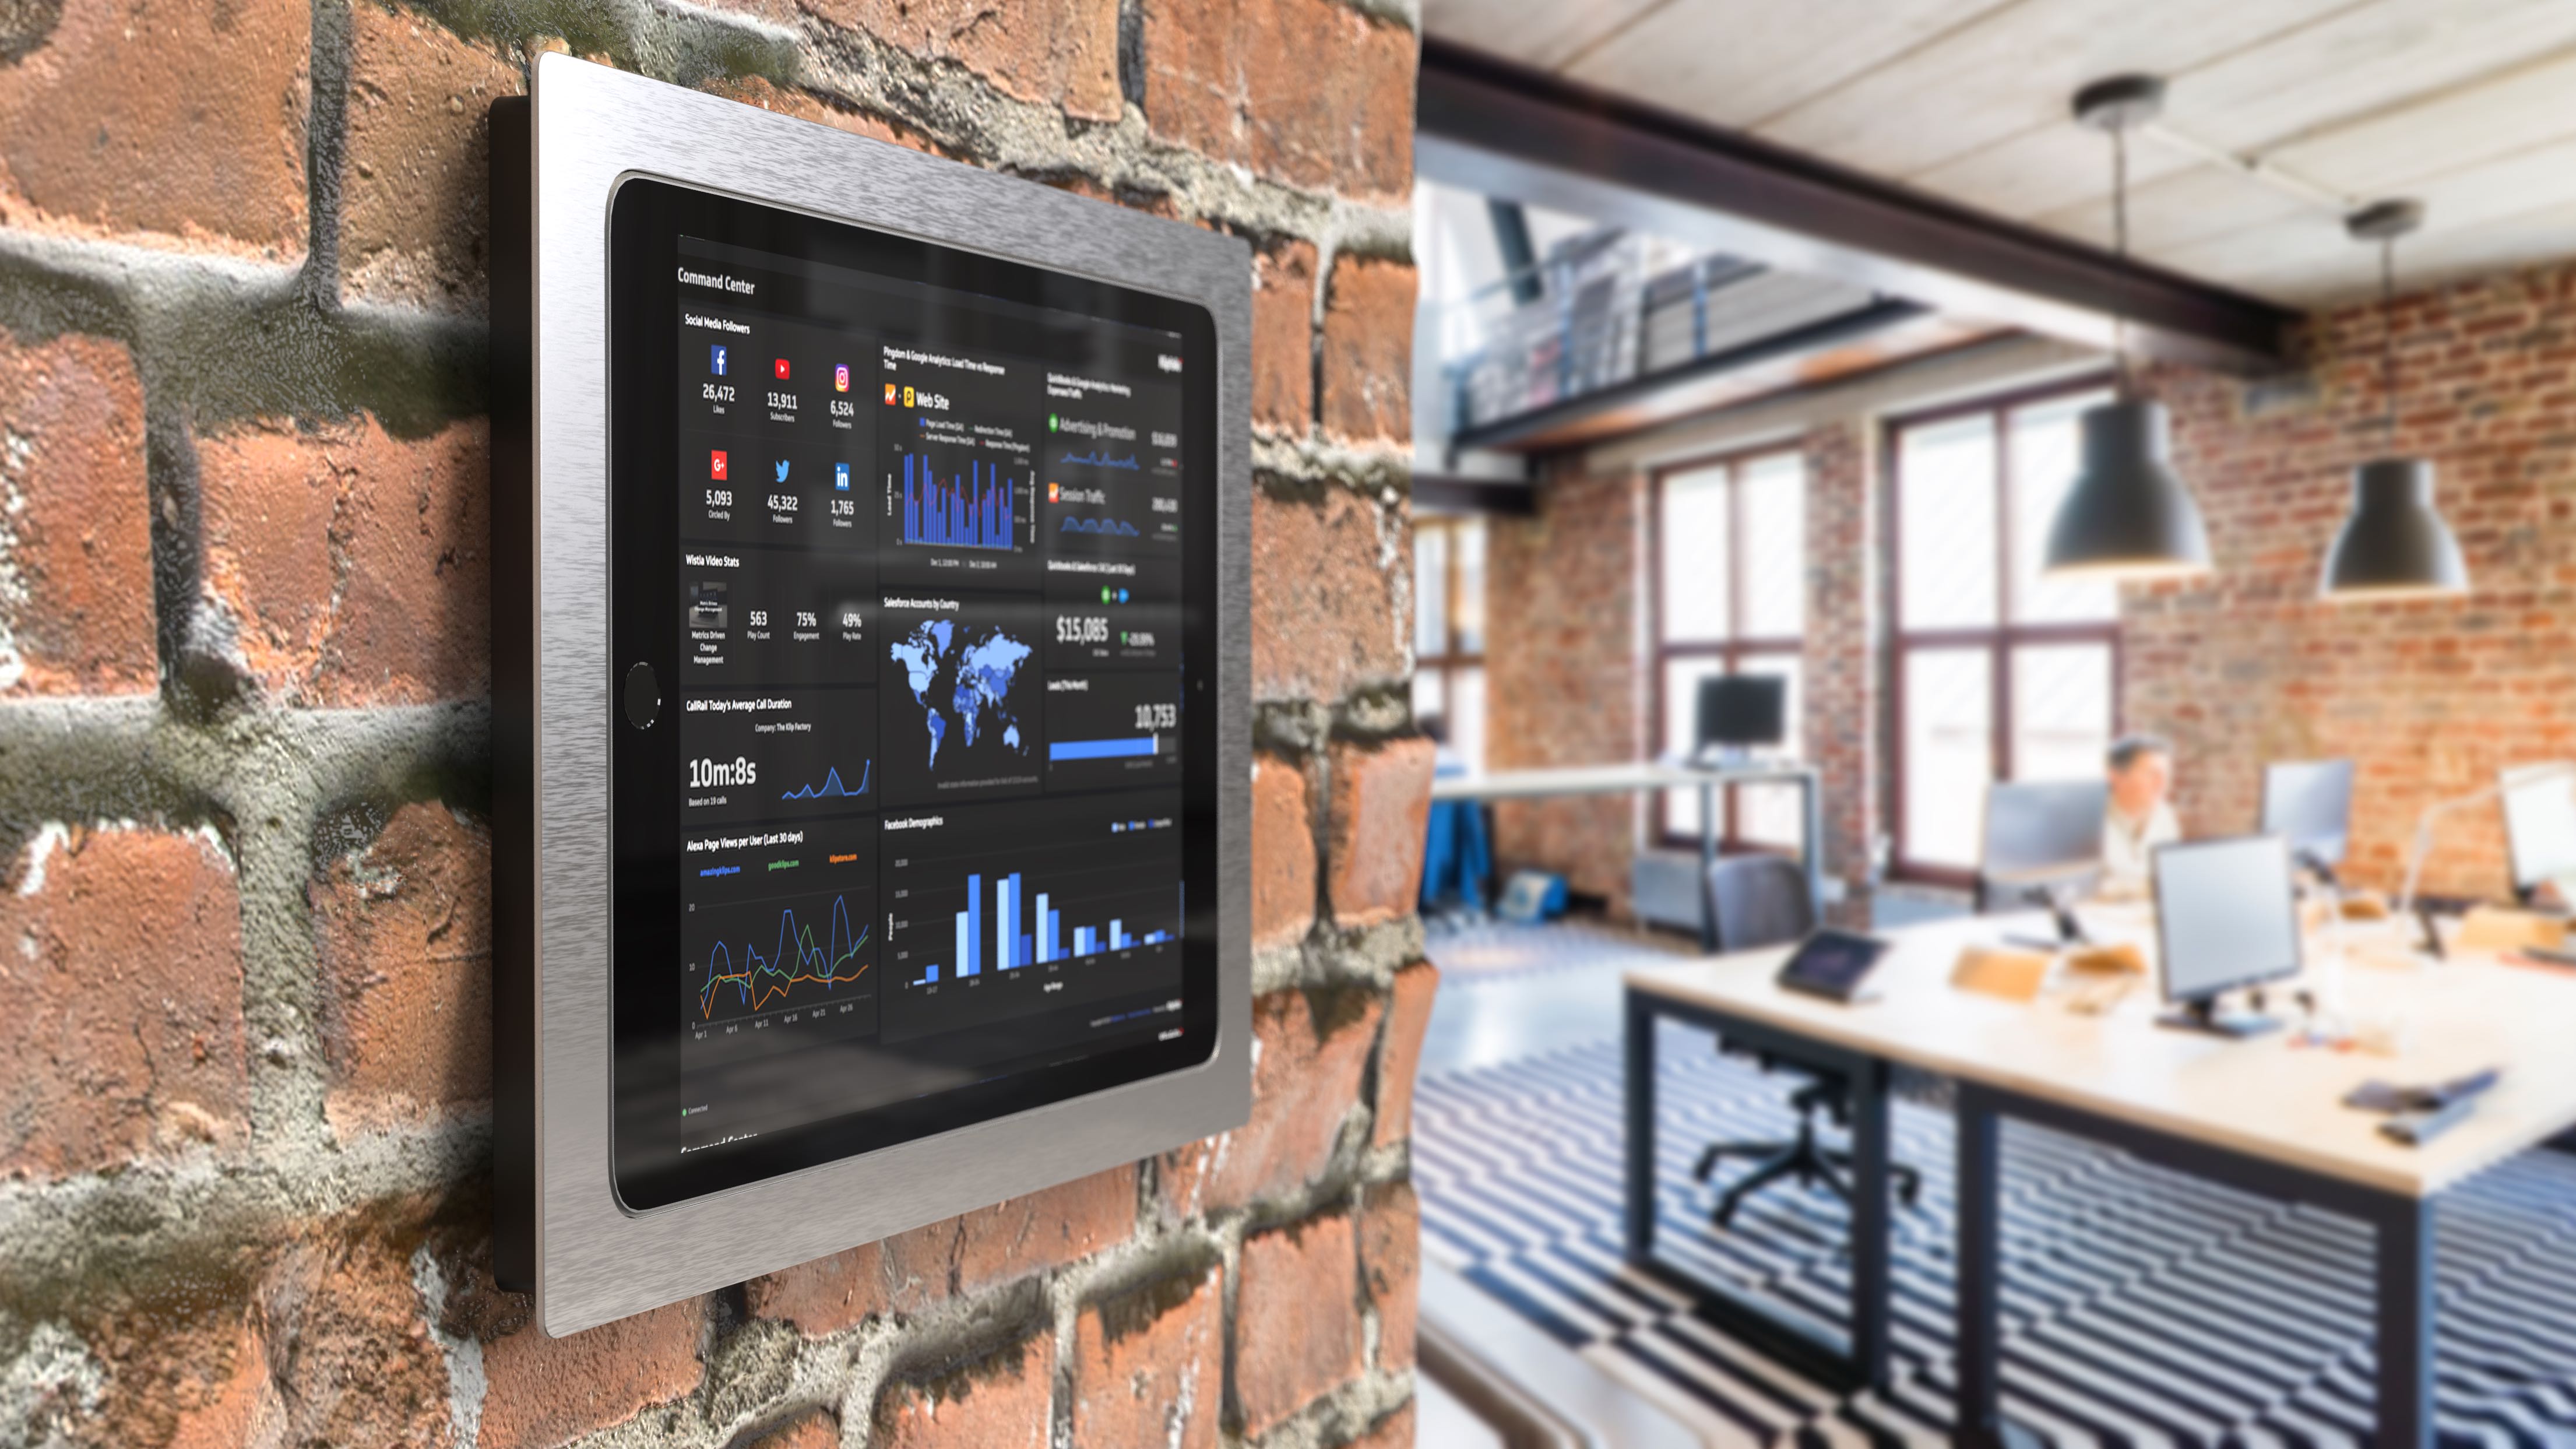
Some projects might be better suited for surface mounting. Maybe it's a hard surface like brick, concrete, tile where cutting or notching the solid wall is more difficult, or maybe you would rather just not cut a large hole in the drywall.
2. Use a level to draw a horizontal line approximately 6” long at the desired height, then use the supplied Mounting Template to trace the mounting screw locations and cable opening onto the wall using the level line as a guide.
Fixed iPad® Option

By default, the SimpliDock allows the iPad® to easily dock and eject by the user. However, if semi-permanent fixed installation is preferred, we include a part which can be installed before docking iPad to lock it in place.
If simple removal of iPad® is not preferred, the Headphone Plug or Fixed Adapter (depending on iPad model) may be installed into the iPad® headphone jack before docking into SimpliDock. Once clicked into place, this will prevent the iPad® from ejecting when pressed by user. To remove iPad® for service, use Suction Grip to carefully pull outward on iPad in the corner near the Headphone Plug. It may require some pressure, but be sure iPad does not pull too far outward when releasing to prevent damage to iPad® or SimpliDock.
Wiring/Charging
Be sure to check out our SimpliDock Wiring/Charging article for more information.
Conclusion
Hopefully this article helps clear up any questions you may have regarding the installation of the SimpliDock wall mounted iPad dock. If you have any doubts about installation, please check with a professional contractor. Always follow local/regional building codes.
Every project is unique, so feel free to Contact Us if you have any questions.

George Hires
Founder & CEO
SimpliDock.com
Leave a comment